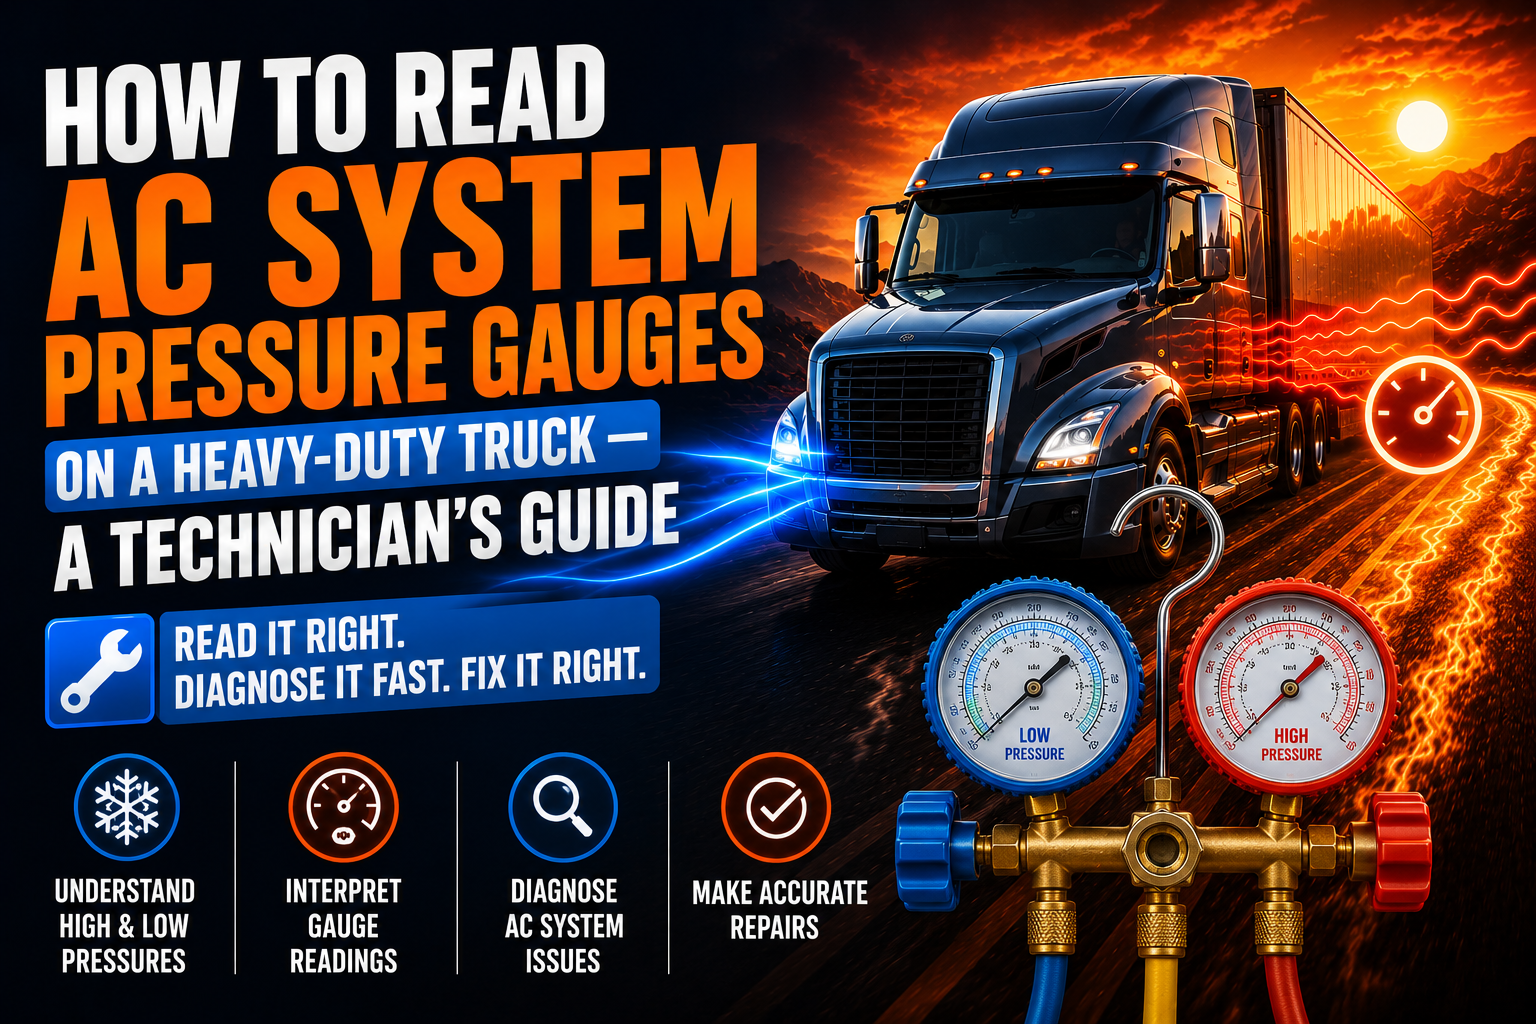
Every summer, fleets across the country pull trucks into the shop with the same complaint: "AC's not blowing cold." Half the time, the answer is sitting right there on the gauge set, if you know what you're looking at.
Misreading a gauge — or skipping the gauge check altogether — is how technicians end up chasing the wrong problem. You replace a compressor that was fine. You add refrigerant to a system that was already full. You miss a restriction that's going to strand a driver in July heat.
Reading pressure gauges correctly isn't complicated once you understand what the numbers actually mean. This guide walks through it the way you'd explain it to a new tech standing next to you at the manifold.
How AC Pressure Gauges Work
A truck's AC system runs on a simple idea: compress refrigerant to make it hot and high-pressure, then let it expand to make it cold and low-pressure. Your gauge set just shows you both halves of that cycle at once.
Most manifold gauge sets have two dials. One reads the high side (the discharge line, after the compressor). The other reads the low side (the suction line, before the compressor). Between them, you get a full picture of what the refrigerant is doing at every stage.
Each gauge also has a temperature scale printed around the edge, usually for R-134a or R-1234yf, since heavy-duty trucks use different refrigerants depending on the model year. That scale matters because pressure and temperature are directly linked in this system — refrigerant boils and condenses at predictable pressures for a given temperature. That relationship is the whole basis for diagnosis.
Reading High-Side vs. Low-Side Gauges
The High Side
The high-side gauge connects to the discharge line coming out of the compressor. This is the hottest, highest-pressure part of the system.
Normal high-side readings depend heavily on ambient temperature, but a rough field range is 200–275 psi on a properly charged system in hot weather (85–95°F ambient). The hotter the day, the higher this number should climb, because the condenser has to work harder to dump heat into warmer air.
If you're not seeing your high side move with ambient temperature, that's already a clue something's off — a lazy compressor, a restricted condenser, or a fan clutch that isn't engaging.
The Low Side
The low-side gauge connects to the suction line, the return path heading back into the compressor. This is the cold, low-pressure side.
A healthy low-side reading typically sits in the 25–45 psi range at idle with the AC on and cab doors closed, though exact numbers shift with compressor displacement and ambient conditions. This side tends to be more stable and less affected by outdoor temperature than the high side.
Low-side readings are usually your first clue for undercharge or overcharge conditions, since they respond quickly to refrigerant volume changes.
Step-by-Step: How to Connect and Read Gauges
1. Start with the truck off and the system at rest. Static pressure (engine off, AC off) should read roughly equal on both gauges — usually somewhere between 70–100 psi depending on ambient temperature. Equal static pressure is a decent quick check that there's refrigerant in the system at all.
2. Connect the manifold hoses. Blue hose to the low-side service port, red hose to the high-side service port. Yellow hose (if your set has one) goes to your refrigerant source or recovery machine. Ports are sized differently so you can't cross them up, but double-check anyway.
3. Start the engine and turn the AC to max, blower on high. Let it run for at least five minutes. Gauges will bounce around at first — give the system time to stabilize before you trust the numbers.
4. Read low side first, then high side. Note both numbers along with ambient temperature. Write it down. A reading without context (what was the outside temp, what was engine RPM) isn't much use for troubleshooting later.
5. Watch the needles, not just the number. A gauge that's fluctuating wildly is often telling you as much as the static reading. Steady needles mean a stable system. Bouncing or surging needles point toward moisture, a failing compressor valve, or air in the system.
6. Compare against a pressure-temperature chart for your refrigerant type. This is where you confirm whether your readings are actually normal for the conditions, rather than just "in the ballpark."
Common Readings and What They Mean
| Symptom | Likely Cause |
| Both gauges low | System undercharged, or a leak somewhere in the loop |
| Both gauges high | Overcharged system, or air/moisture contamination |
| High side low, low side high | Weak or failing compressor — it's not building pressure |
| High side high, low side low | Restriction in the system — clogged orifice tube, expansion valve, or filter drier |
| Low side reads deep into a vacuum (below 0 psi) | Severe undercharge or blockage on the low side |
| Gauges normal but no cold air | Check for a bad blend door, electrical fault, or a sensor reporting bad data to the control module |
That last line matters more than it used to. Modern heavy-duty AC systems lean heavily on pressure and temperature sensors to manage compressor cycling and protect the system from damage. If a sensor is reporting bad data, your gauges might look fine while the truck still won't blow cold, because the control module is making decisions off numbers that don't match reality.
This is a spot where a lot of techs lose time. You can chase a phantom compressor problem for an hour before realizing the actual fault is a failed pressure transducer feeding bad data to the ECU. Cross-referencing your manual gauge readings against the sensor data on the dash or scan tool is a fast way to catch this before you start pulling parts. If you're replacing one anyway, it's worth sourcing a heavy-duty AC pressure switch built for the pressure ranges and connector types your fleet actually runs rather than a generic part that reads close enough.
Tools and Safety Considerations
You'll need a manifold gauge set rated for your refrigerant type, safety glasses, and gloves — refrigerant will freeze skin on contact if a hose fitting lets go under pressure.
Never vent refrigerant to atmosphere. It's illegal under EPA regulations and it's also just wasteful. Use a recovery machine.
Double check refrigerant type before connecting anything. R-134a and R-1234yf systems use different fittings specifically so you can't cross-contaminate them, but adapters exist and get misused. Confirm before you connect.
Let the system run a few minutes before taking readings you plan to act on. A gauge reading taken 30 seconds after startup will send you chasing a problem that isn't there.
Wrapping Up
Reading AC pressure gauges comes down to three things: knowing what normal looks like for the conditions, watching how the two sides relate to each other, and giving the system time to stabilize before you trust what you're seeing.
Get comfortable with that pressure-temperature relationship and most AC complaints stop being mysteries. High side and low side telling two different stories almost always points you straight to the failing component.
And if your gauges look right but the system still isn't behaving, don't rule out a sensor before you rule it in. A worn or failing pressure sensor can feed bad data to the truck's control module and cause symptoms that look mechanical but aren't. Check out TruckAC's line of heavy-duty AC sensors built to match OE pressure ranges and connector specs for common fleet applications — it's often the fastest fix in the whole diagnostic chain.
Disclaimer: This article is provided for general informational purposes only and is not intended as a complete maintenance, repair, or diagnostic guide. Always verify procedures and specifications using the applicable OEM service information and consult a qualified service professional before performing any work. TruckAC+ assumes no liability for actions taken based on this content.