Running a Volvo VNL without a working AC isn't just uncomfortable—it's a health risk on summer routes and a productivity killer. Cab temperatures can climb past 120°F when parked, and even at highway speeds, a malfunctioning AC makes long hauls brutal.
Running a Volvo VNL without a working AC isn't just uncomfortable—it's a health risk on summer routes and a productivity killer. Cab temperatures can climb past 120°F when parked, and even at highway speeds, a malfunctioning AC makes long hauls brutal.
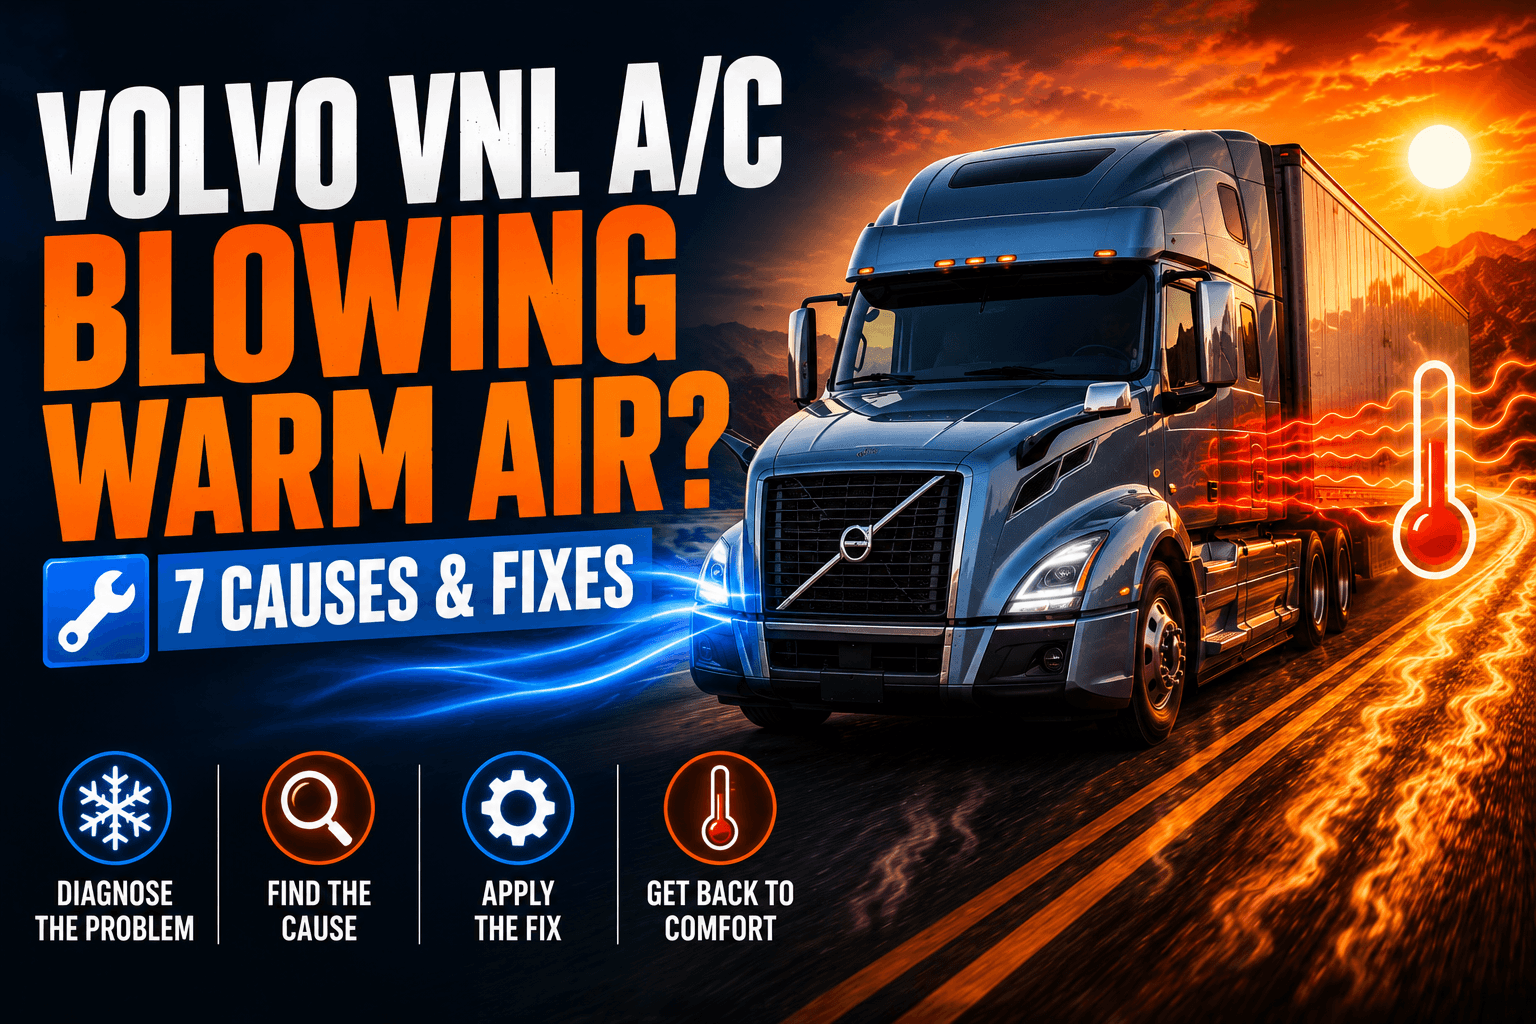
The good news: most AC failures follow a predictable pattern. Whether you're diagnosing the problem yourself or briefing a shop, knowing what to look for saves time and money. Here are the seven most common reasons your Volvo VNL AC is blowing warm air—and what you can do about each one.
1. Low Refrigerant (The Most Common Culprit)
What's happening
Refrigerant is the lifeblood of your AC system. When levels drop, the system can't absorb enough heat from the cab air—so what comes out of the vents feels warm or just slightly cool.
How to identify it
A manifold gauge set will tell you immediately. Low side pressure will read below 25–30 PSI at idle, and high side pressure will also be lower than normal. You might also notice the AC clutch cycling on and off rapidly or not engaging at all.
Warning: If you're consistently losing refrigerant, you have a leak. Adding refrigerant without fixing the leak is a temporary fix—you'll be back in the same situation within weeks.
The fix
Locate the leak first using UV dye or an electronic leak detector—common spots on the VNL include the condenser, Schrader valves, and hose connections. Repair the leak, then recharge the system to spec (check your VNL service manual for the correct refrigerant type and charge weight, typically R-134a on older models and R-1234yf on newer ones).
Difficulty: Leak detection is DIY-friendly with the right tools; recharging requires a certified AC machine. Cost: $50–$150 for a shop recharge; leak repair varies widely depending on location.
2. Failed AC Compressor
What's happening
The compressor is what pressurizes the refrigerant and keeps it circulating. When it fails—whether from a seized clutch, worn internals, or a broken coil—the entire refrigeration cycle stops.
How to identify it
Pop the hood and watch the compressor clutch when the AC is switched on. It should engage (you'll hear a click and the front pulley will spin with the clutch plate). If the clutch doesn't engage, or if it engages but the compressor makes a grinding or rattling noise, you're likely looking at a compressor issue.
Also check for clutch gap—if it's too wide (more than 0.020 inches), the clutch won't pull in properly even with a good coil.
The fix
A failed compressor needs to be replaced. Before installing a new one, flush the system lines to remove any debris from the old compressor—metal shavings from a failed compressor will destroy a new one fast. Also replace the receiver-drier or accumulator at the same time, since it will have absorbed any moisture released during the failure.
Difficulty: Professional repair recommended. Cost: $400–$900 for parts and labor depending on the compressor model and shop rates.
3. Condenser Problems (Dirty, Bent, or Blocked)
What's happening
The condenser sits in front of the radiator and releases heat from the refrigerant into the outside air. If it's clogged with bugs, road debris, or mud, or if the fins are bent from road damage, heat transfer drops—and so does cooling efficiency.
How to identify it
Stand in front of the truck with the AC running. If the air coming through the grille feels warm but weak, or if there's no airflow from behind the condenser, you may have a blockage. Visually inspect the condenser face—you should see clean fins. Heavily fouled condensers are obvious.
Also check the condenser fan (if equipped with an electric auxiliary fan). If it's not spinning when the AC is on, the condenser isn't getting the airflow it needs.
The fix
For a dirty condenser, a careful rinse with low-pressure water (not a pressure washer) from the back side pushes debris out the way it came in. For bent fins, a fin comb straightens them out. If the condenser is leaking or too damaged, replacement is the only option.
Difficulty: Cleaning is DIY-friendly. Replacement is of moderate difficulty. Cost: Cleaning is essentially free. Condenser replacement typically runs $200–$500 with labor.
4. FaultyBlower Motor or Resistor
What's happening
The blower motor pushes air through the evaporator and into the cab. If it's failing, you get weak or no airflow—the system might be cooling the refrigerant just fine, but the air isn't moving enough to feel it.
The blower motor resistor controls fan speed. A failed resistor often means the blower only works on one speed (usually high) or not at all.
How to identify it
Cycle through all fan speeds. If some speeds work and others don't, the resistor is likely the issue. If the fan doesn't work at all, it could be the motor itself, a blown fuse, or a bad relay. Check the fuse box first—it's the easiest fix.
You can also test the motor directly with 12V power. If it spins fine with direct power but doesn't work in the circuit, trace the issue upstream.
The fix
A blower motor resistor is an inexpensive, accessible fix—typically located near the blower motor housing. The motor itself takes a bit more work to access on the VNL but is still manageable with basic hand tools and a service manual for the routing.
Difficulty: Resistor replacement is DIY-friendly. Motor replacement is moderate. Cost: Resistor: $20–$60. Blower motor: $80–$200 plus labor.
5. Clogged or Frozen Evaporator
What's happening
The evaporator is the cold coil inside the cab that absorbs heat from the cabin air. If it gets coated with grime over time, or freezes over due to low refrigerant or a stuck expansion valve, it can't do its job.
A frozen evaporator is more common in humid climates or when the AC runs constantly without cycling off.
How to identify it
If your AC blows cool for the first 10–15 minutes and then gradually loses effectiveness, a freezing evaporator is a strong suspect. You can sometimes confirm this by turning off the AC but leaving the fan running—if cooling briefly returns after the ice melts, that's your answer.
For a dirty evaporator, you'll often notice musty odors along with reduced cooling.
The fix
For a frozen evaporator, check refrigerant charge and inspect the expansion valve or orifice tube—these control refrigerant flow and can cause freeze-up if stuck open. For a dirty evaporator, an evaporator coil cleaner (sprayed through the vents or with the housing opened up) can clear the buildup. Severe cases require removing and cleaning or replacing the unit.
Difficulty: Diagnosis is DIY. Cleaning or replacement requires moderate to professional skill. Cost: Cleaner spray: $15–$30. Evaporator replacement: $400–$800 with labor.
6. Electrical Issues: Fuses, Relays, and the AC Pressure Switch
What's happening
Your AC system depends on several electrical components to function. A blown fuse, a failed relay, or a faulty pressure switch can all prevent the compressor from engaging—leaving you with nothing but warm air and a running fan.
The AC pressure switch is a safety device that shuts the compressor off when refrigerant pressure is too high or too low. If the switch fails, it can signal the system to shut down even when pressures are normal.
How to identify it
Start at the fuse box. Locate the AC fuse and relay (your VNL's owner manual or service data will show you where). Test the fuse visually or with a multimeter. Swap the relay with an identical relay from another circuit to test it.
For the pressure switch, a technician can bypass it temporarily to confirm it's the problem (not a procedure for extended use, but useful for diagnosis).
The fix
Replace failed fuses and relays—they're cheap and quick. Pressure switches are also relatively inexpensive and straightforward to replace with the right socket and a small refrigerant recovery since the switch is in the refrigerant line on most VNL configurations.
Difficulty: Fuses and relays are DIY. Pressure switch replacement is moderate. Cost: Fuses/relays: $5–$20. Pressure switch: $30–$80.
7. Expansion Valve or Orifice Tube Failure
What's happening
The expansion valve (TXV) or orifice tube controls how much refrigerant enters the evaporator. If it sticks open, too much refrigerant floods the evaporator, causing freeze-up. If it sticks closed or clogs, refrigerant flow is restricted and the system can't cool properly.
This is less common than the issues above, but it's worth understanding—especially if you've already checked refrigerant levels and compressor operation and things still aren't right.
How to identify it
Gauge readings are the best diagnostic here. A stuck-open TXV typically shows low suction pressure and cold suction lines that might frost. A restricted TXV shows very low suction pressure and a warm suction line. You'll need a manifold gauge set and some AC experience to interpret these readings accurately.
If the system has been contaminated with moisture or debris, an orifice tube may be clogged—it's a $10–$20 part, and many techs replace it as a matter of course during any major AC service on systems that use one.
The fix
TXV replacement requires recovering the refrigerant, replacing the valve, and recharging the system. It's not difficult for someone with AC experience, but it does require proper equipment. On VNL models with an orifice tube setup, the tube is typically located at the liquid line inlet to the evaporator and accessible with basic tools after refrigerant recovery.
Difficulty: Requires professional or experienced DIY with refrigerant recovery equipment. Cost: TXV: $50–$150 in parts; $200–$400 with labor. Orifice tube: $10–$20 in parts.
Don't Let It Slide
A warm-air AC isn't just an inconvenience—it compounds driver fatigue, increases the risk of heat-related illness on long summer runs, and left unaddressed, a small refrigerant leak or failing compressor can become a full system replacement.
Most of these issues are diagnosable with a manifold gauge set, a multimeter, and a methodical approach. Start with the simplest checks (fuses, refrigerant level, condenser condition) before moving into more involved diagnostics. If you're not confident with AC systems, a certified shop visit pays for itself in avoiding parts-chasing and incorrect repairs.
For Volvo-specific components and replacement parts for your VNL's AC system, browse the full selection at truckac.com/make/volvo—including compressors, blower motors, and other HVAC components built for commercial truck applications.
Keep the system serviced annually—pressure check, refrigerant level verification, and a condenser cleaning go a long way toward preventing the kind of mid-summer failure that leaves you stranded with a hot cab and a schedule to keep.